
5th Grade
Posts used for in-class lessons or activities for fifth grade.
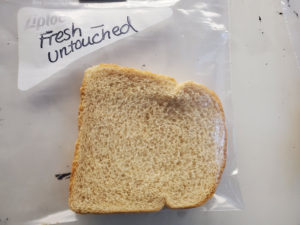
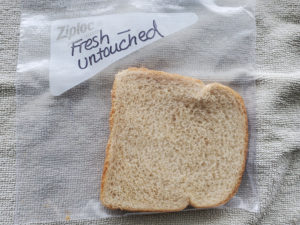
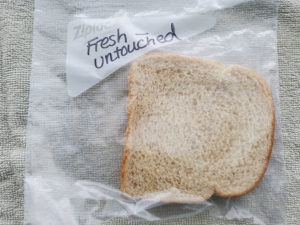
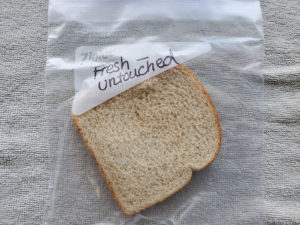
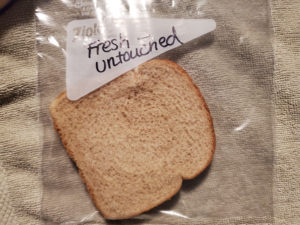
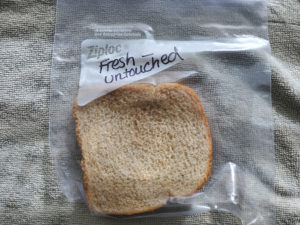
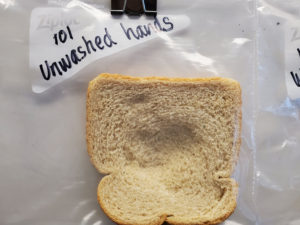
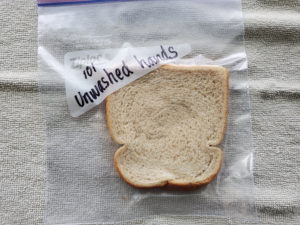
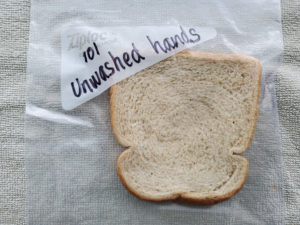
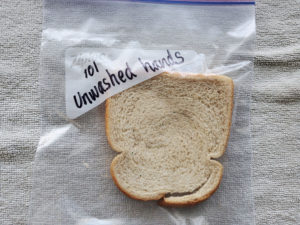
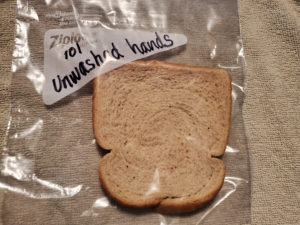
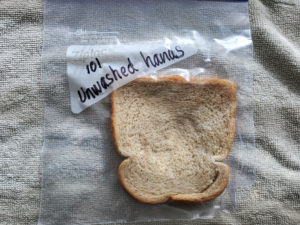
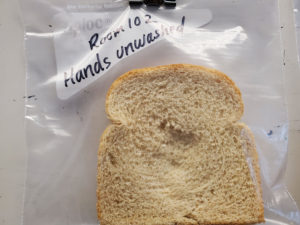
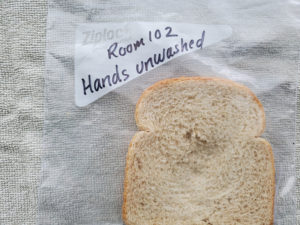
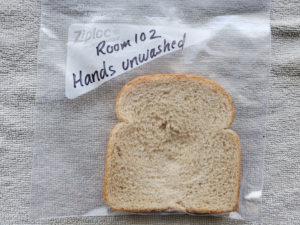
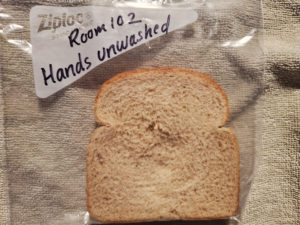
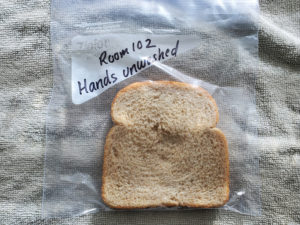
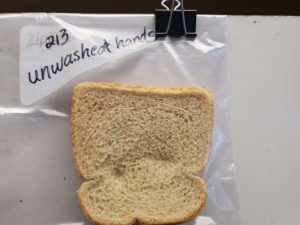
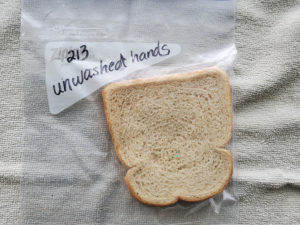
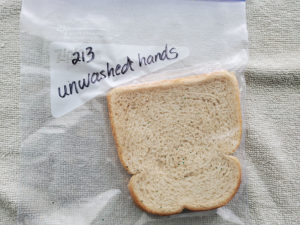
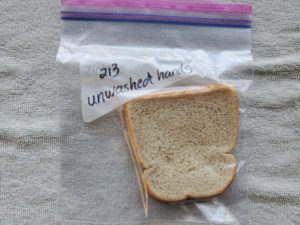
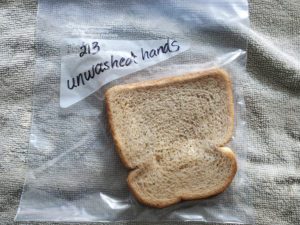
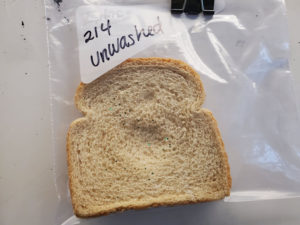
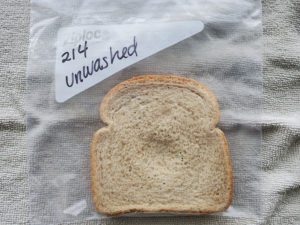
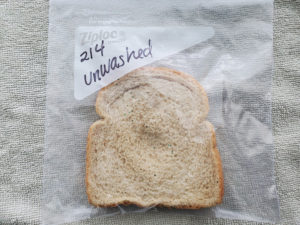
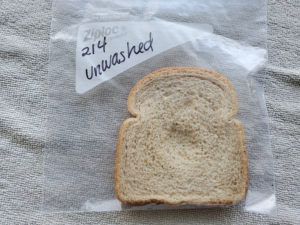
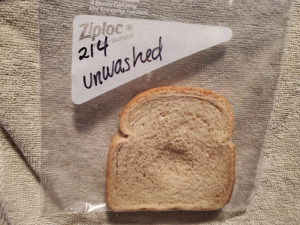
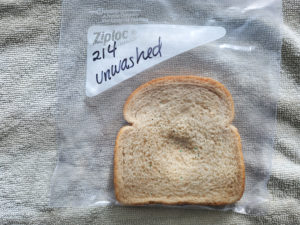
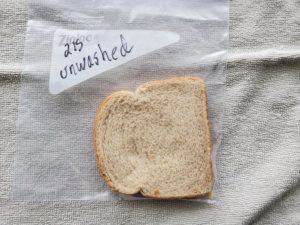
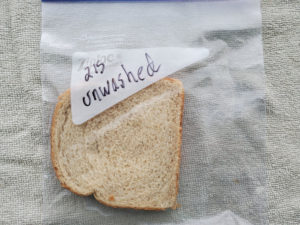
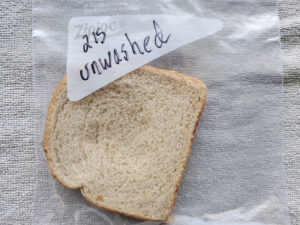
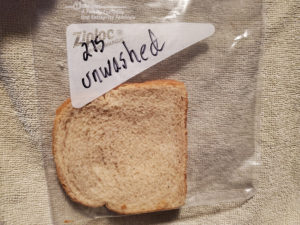
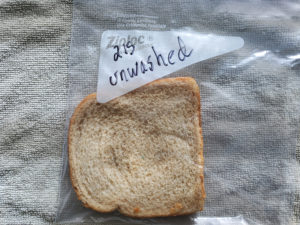
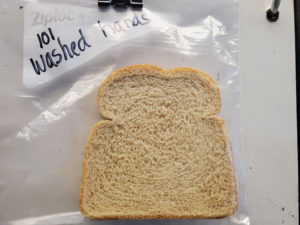
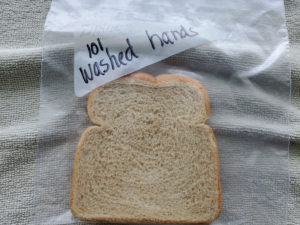
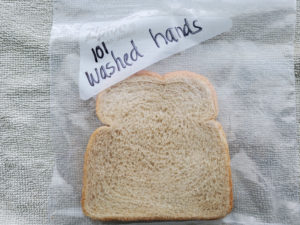
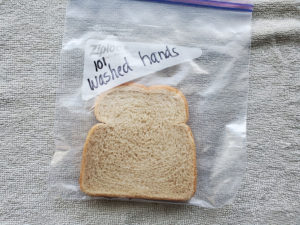
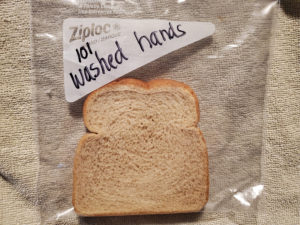
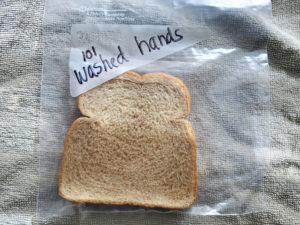
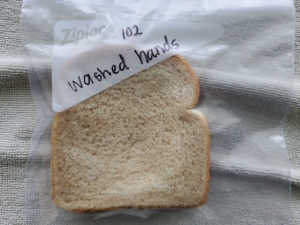
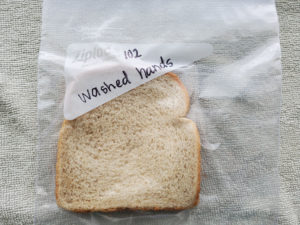
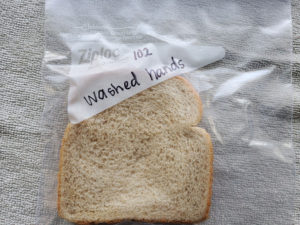
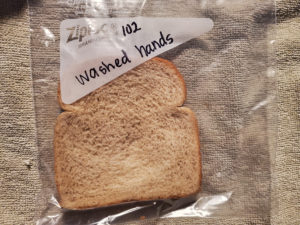
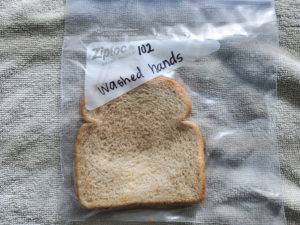
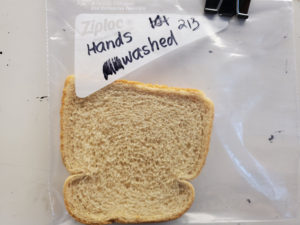
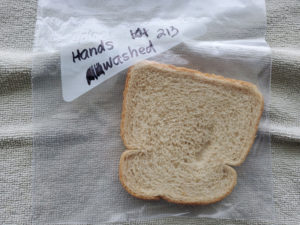
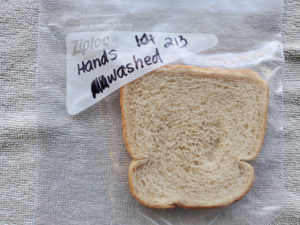
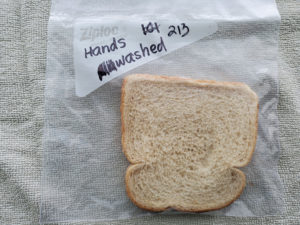
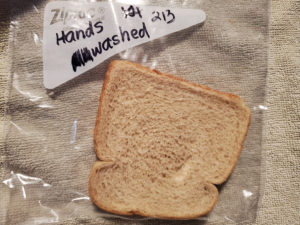
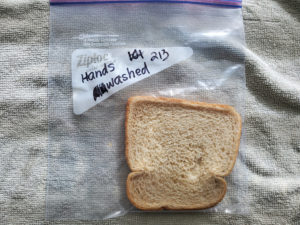
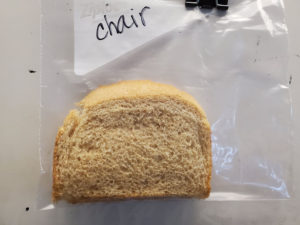
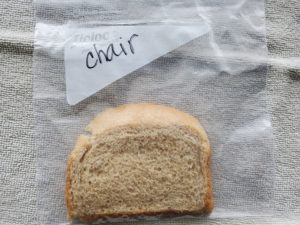
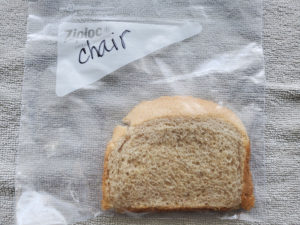
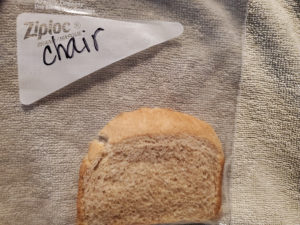
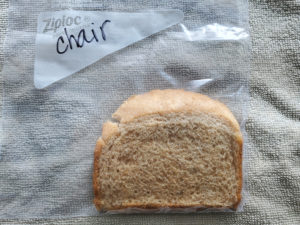
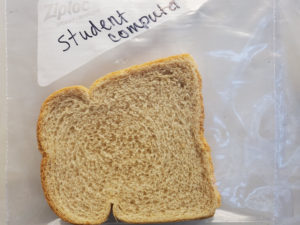
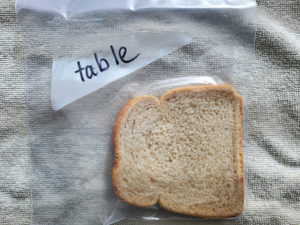
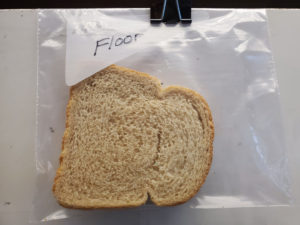
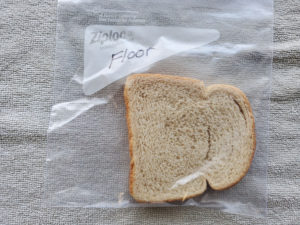
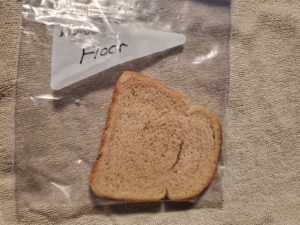
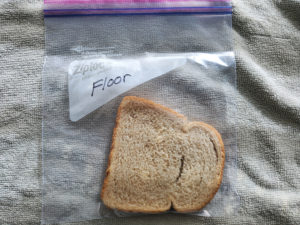
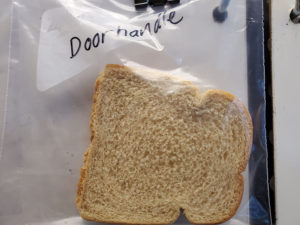
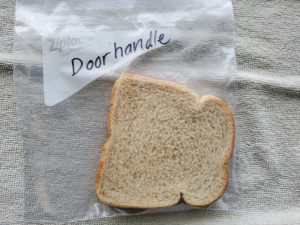
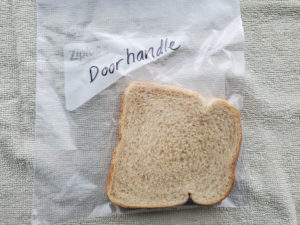
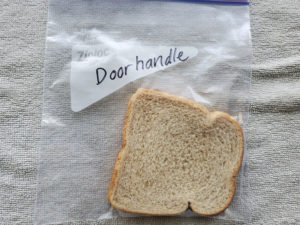
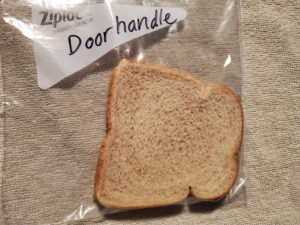
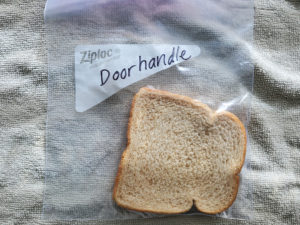
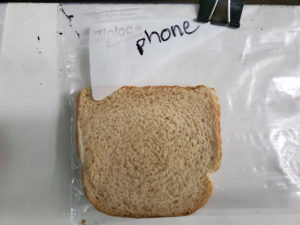
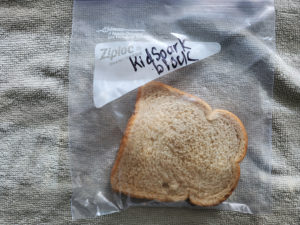
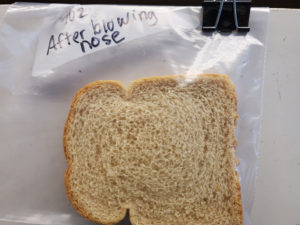
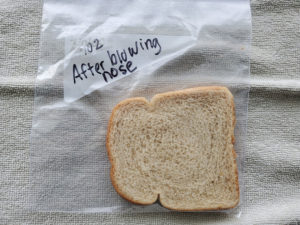
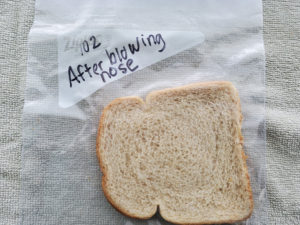
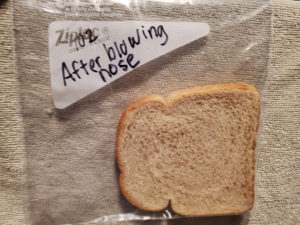
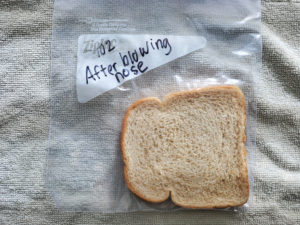
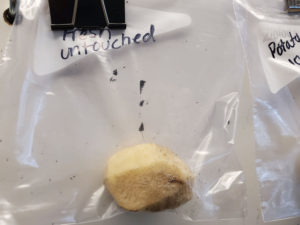
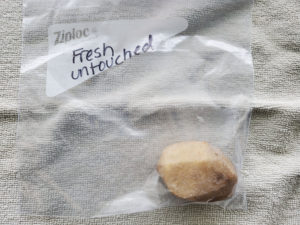
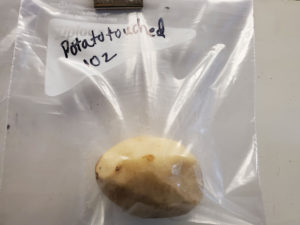
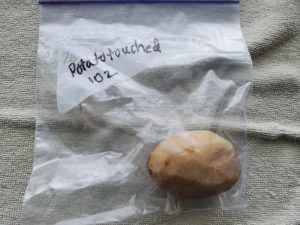
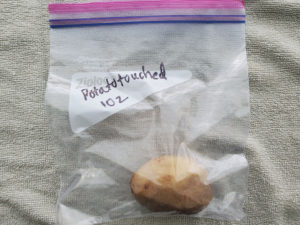
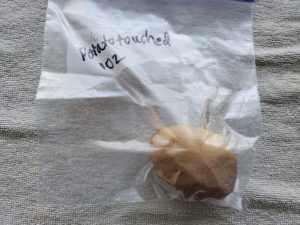
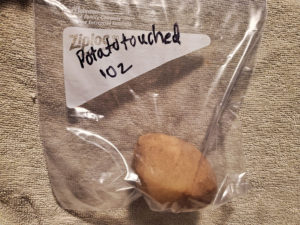
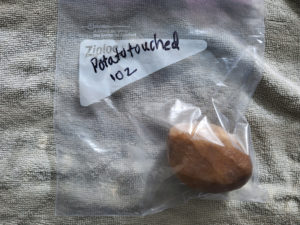
Generating Germs


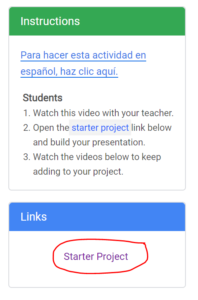
Links
Canvas
- This is a new thing we will try.
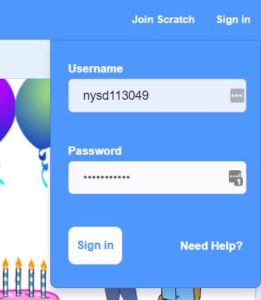
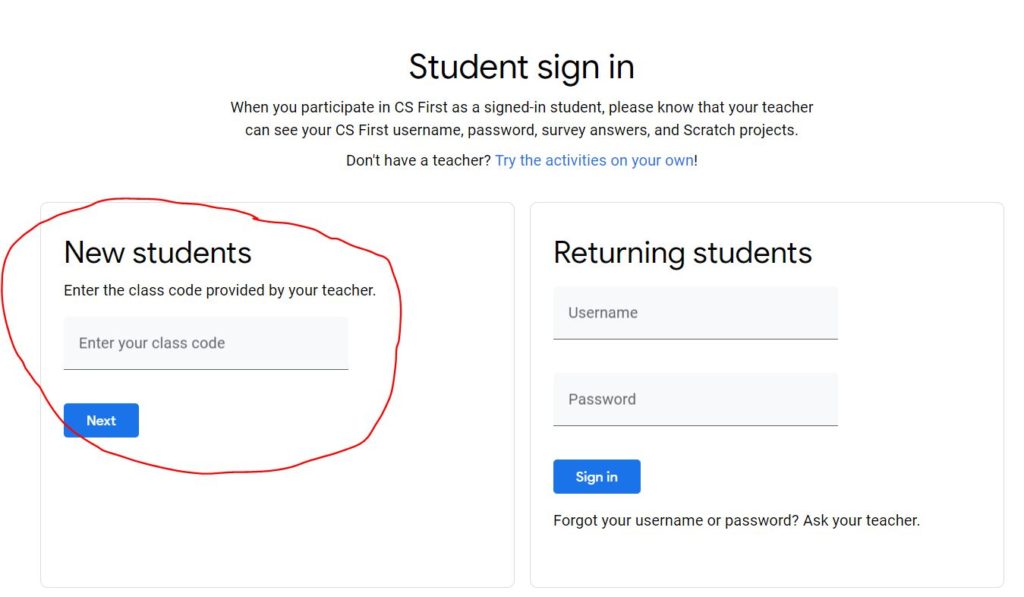
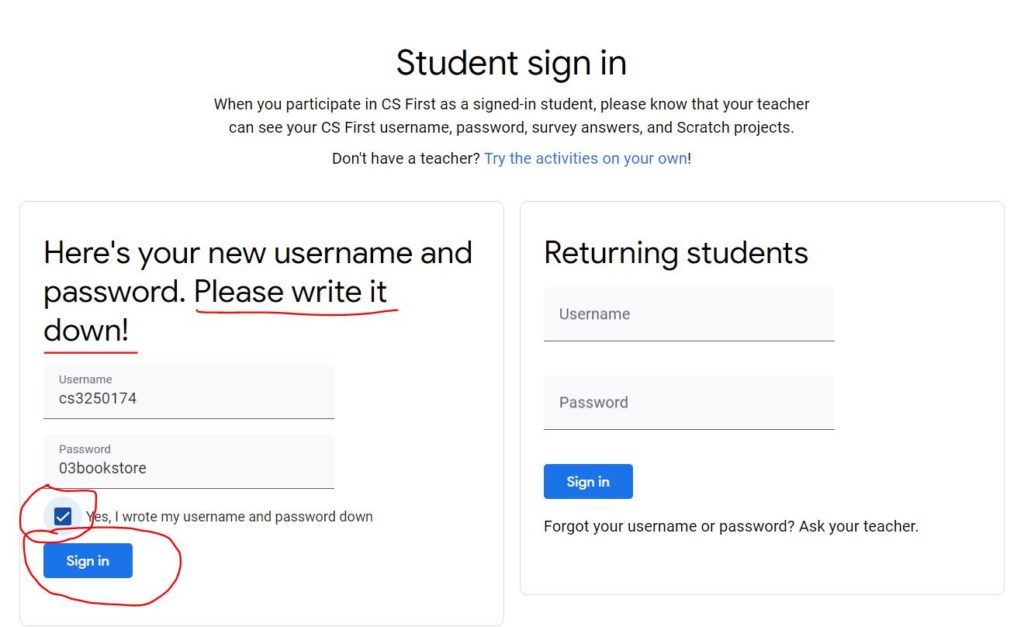
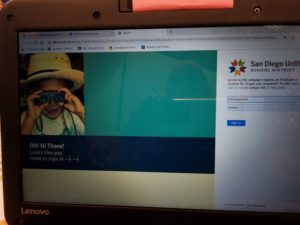
- Click on the link above. Or, in Google Classroom, the one that says “Sign in”
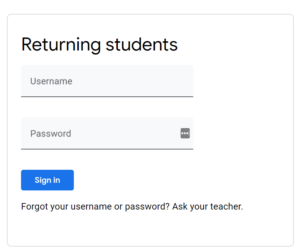
- You will see a screen that looks like the one below. It should put in your user id and password (same one used to login to your computer) for you, but if not, enter it.
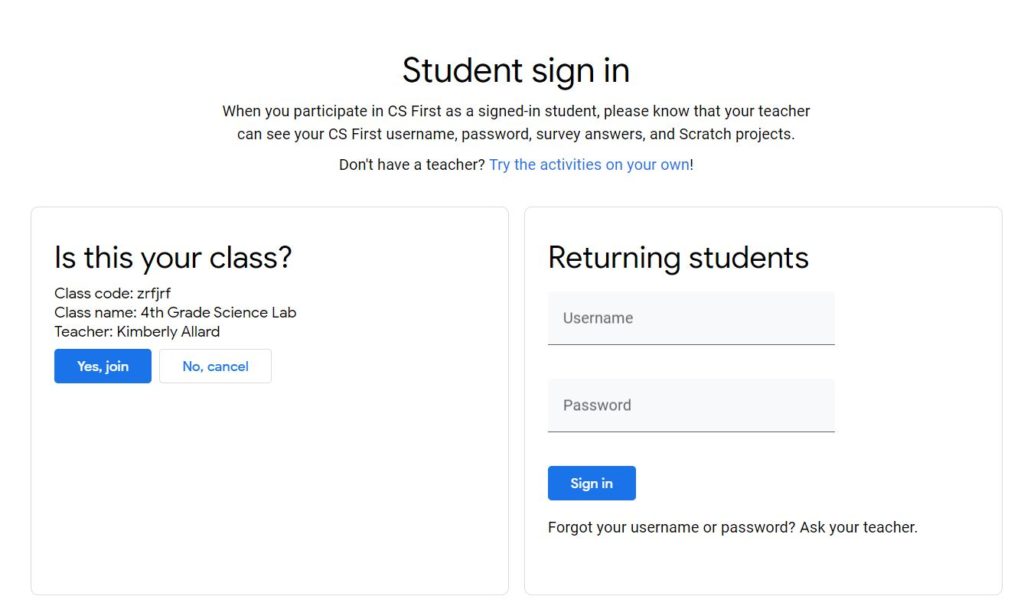
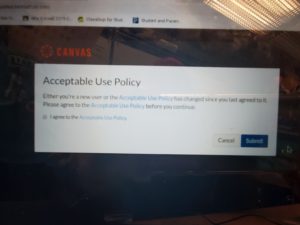
- It will pop up another screen where you have to agree by checking the box, and then clicking the button.
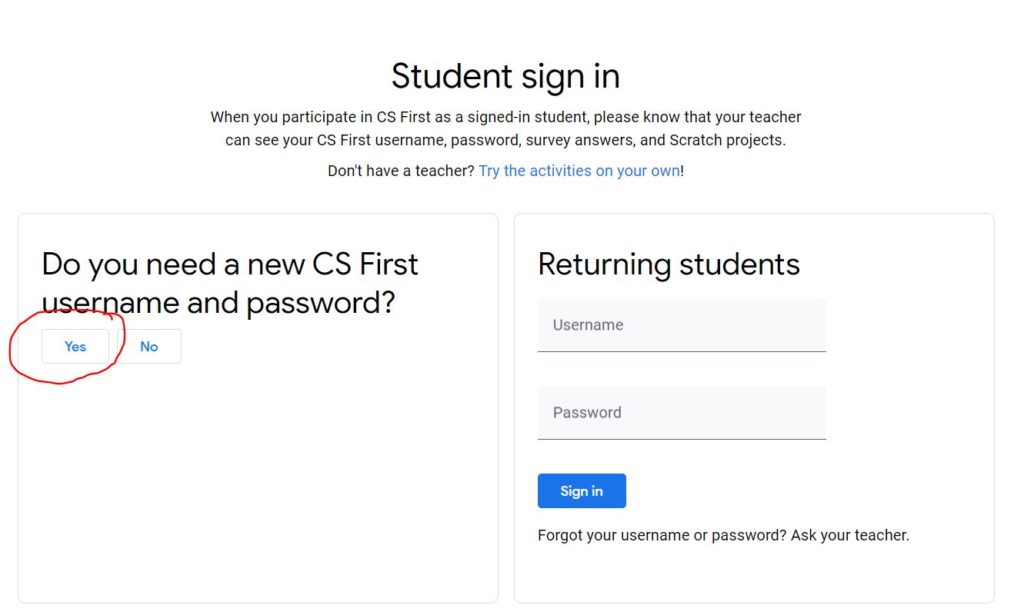
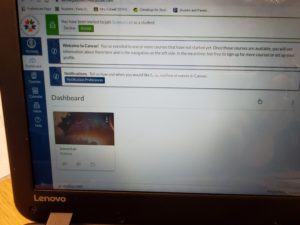
- If you are able to get in, then you will see the third screen.
- That’s it. Now that you have checked on Google Classroom, SeeSaw, and Canvas, you can now click on the Interland link and play the game.
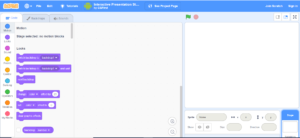
Ozobots on Ozoblockly
Agenda
- Join your grade level Google Classroom using the join code. We are combining classes. Links are in Google Classroom, but here as well.
- Learn the basics of using Ozoblockly
- Calibrate an Ozobot on the computer, which is a little different than doing it on paper.
- Learn how to “Flash Load” (or load the program) your Ozobot
- Try out Task 1 – Square Walk
- Try out Task 2 – Dance Lesson
- If there is extra time, try your own programming
- Fill out the Exit Slip survey
Keep this tab with these instructions open, then open Ozoblockly in a separate tab.
Use the Google Slides below to teach yourself about Ozoblockly and how to program Ozobots using the computer.