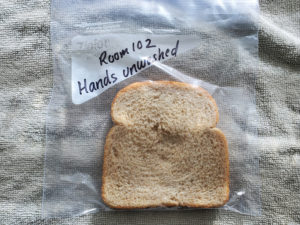
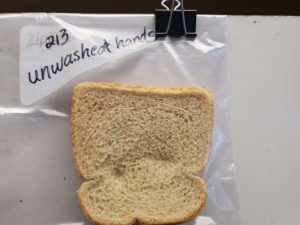
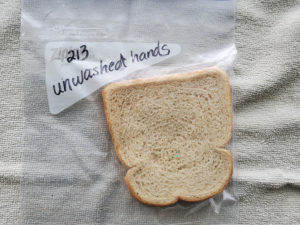
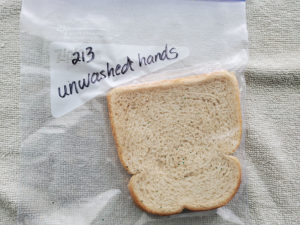
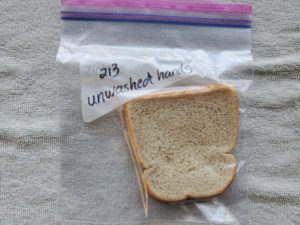
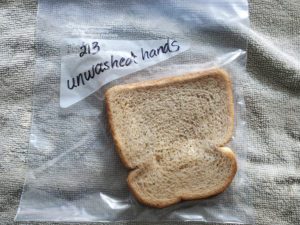
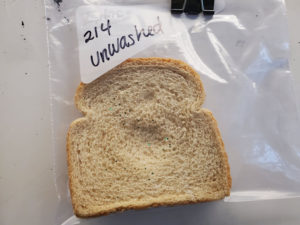
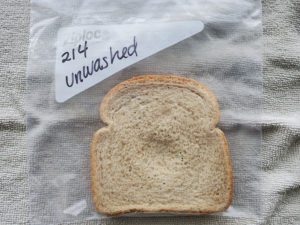
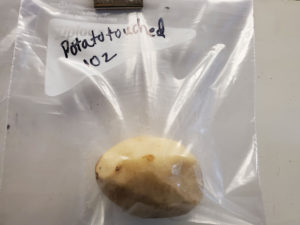
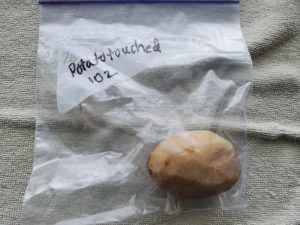
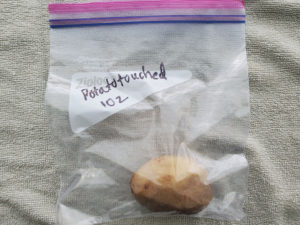
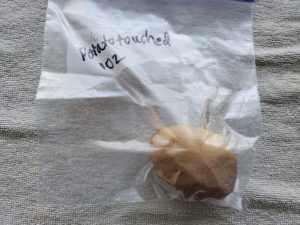
On Friday, March 13th, Rooms 101, 102, 213, 214, and 215 did an experiment with bread. Room 102 also did an experiment with a potato.
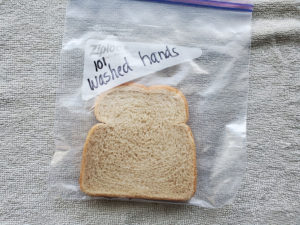
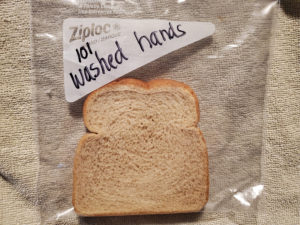
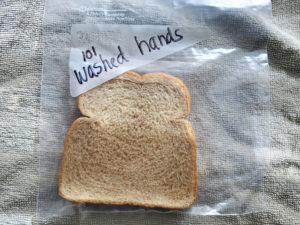
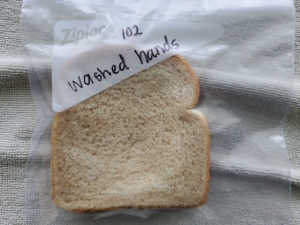
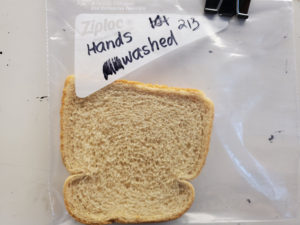
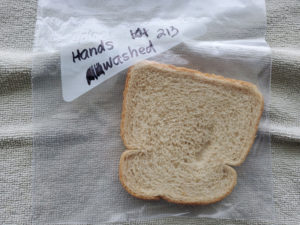
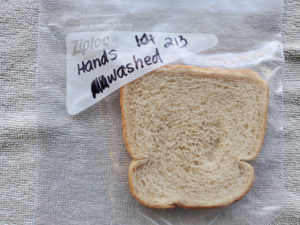
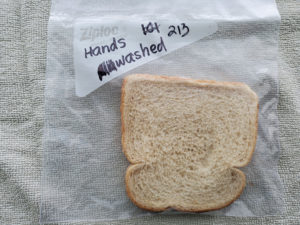
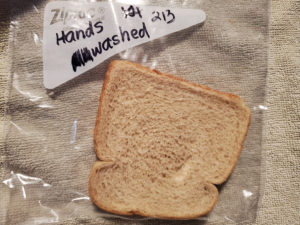
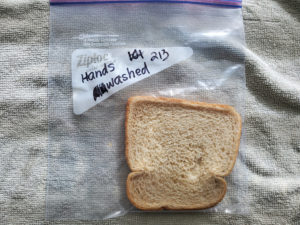
I shook every students’ hand when they entered the classroom (I HAD washed my hands previously), but they didn’t know until afterward that I had put green glitter on my hand. The glitter represented the germs that were on my hands after I sneezed into them. We observed how many germs were spread throughout the class after touching so many people.
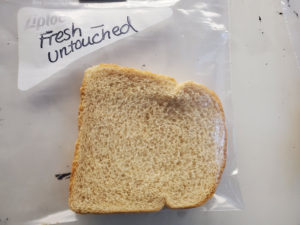
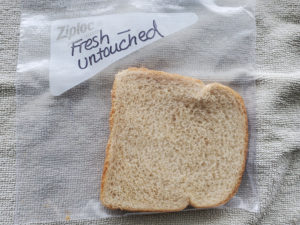
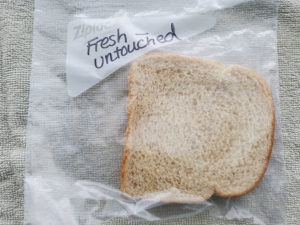
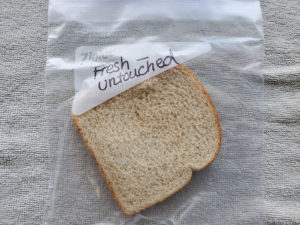
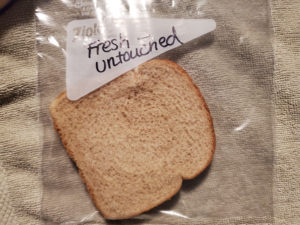
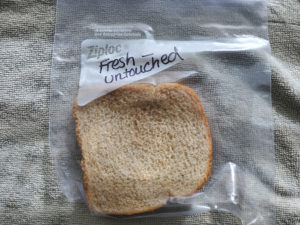
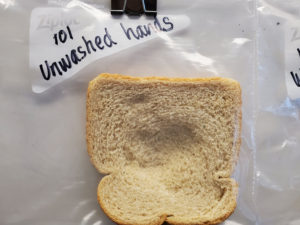
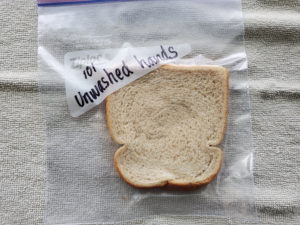
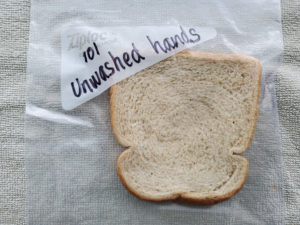
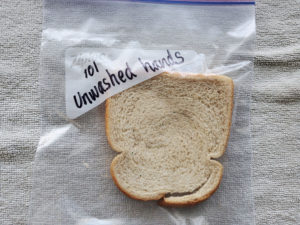
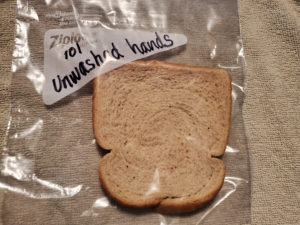
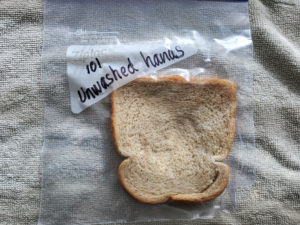
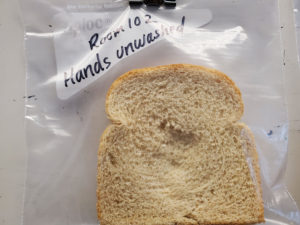
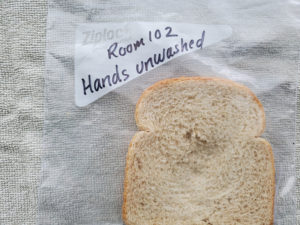
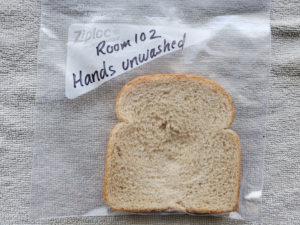
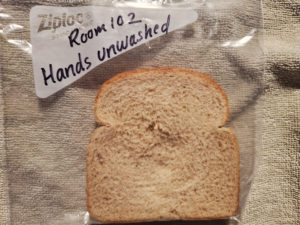
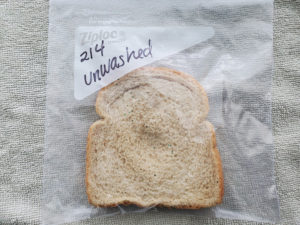
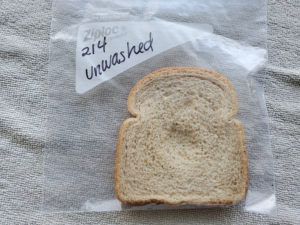
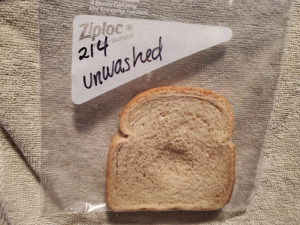
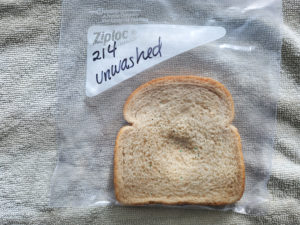
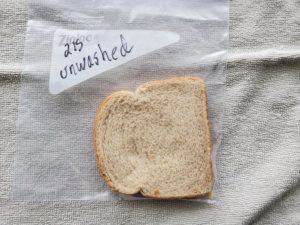
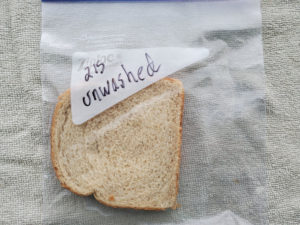
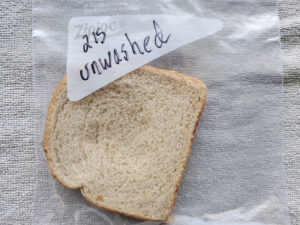
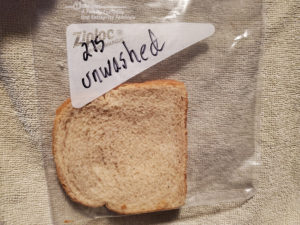
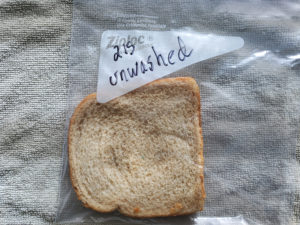
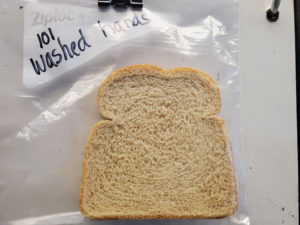
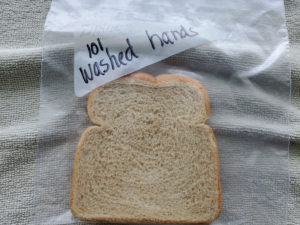
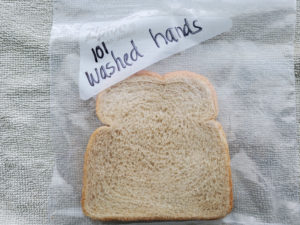
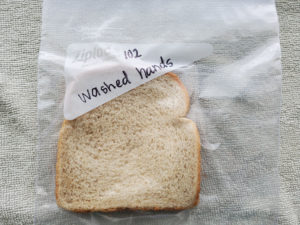
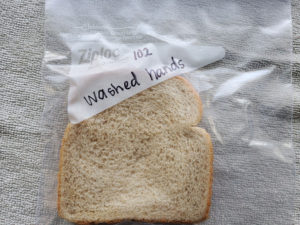
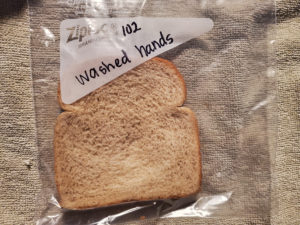
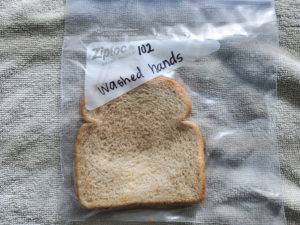
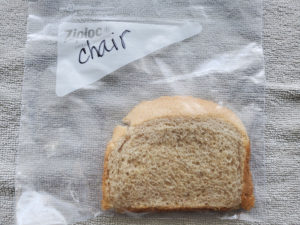
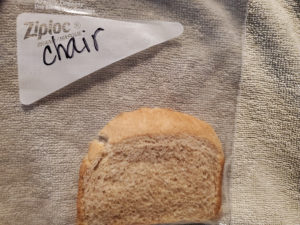
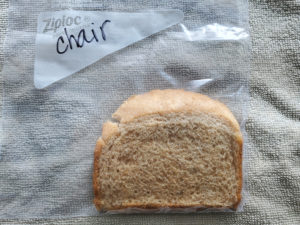
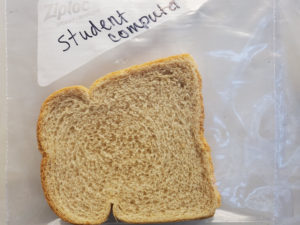
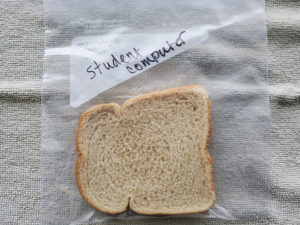
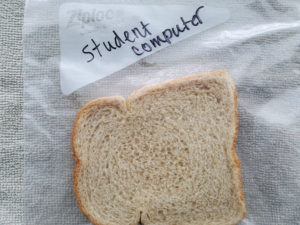
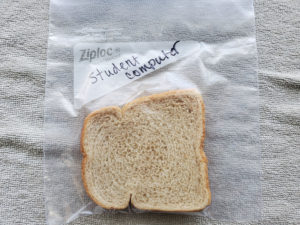
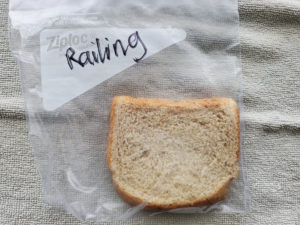
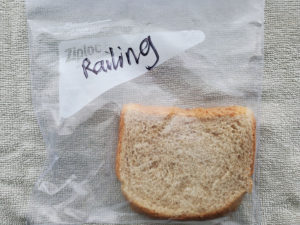
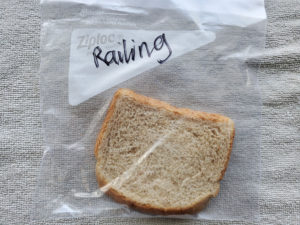
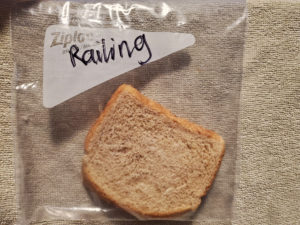
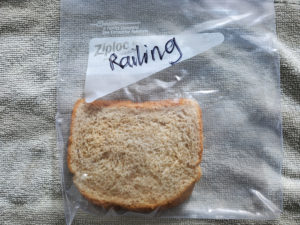
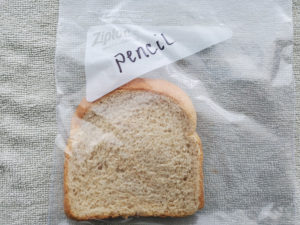
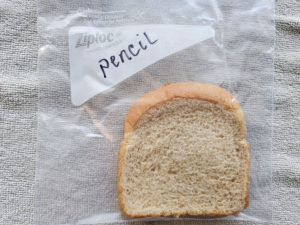
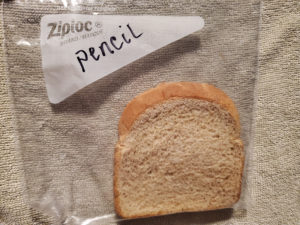
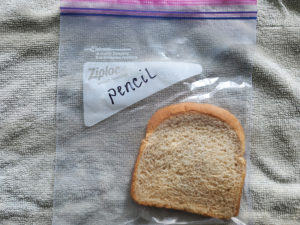
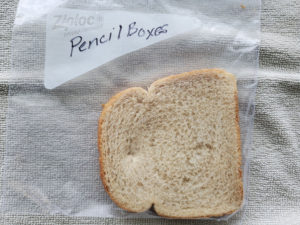
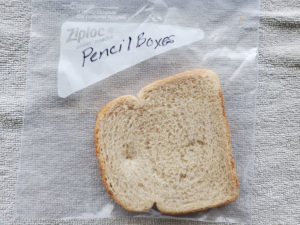
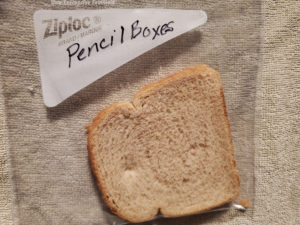
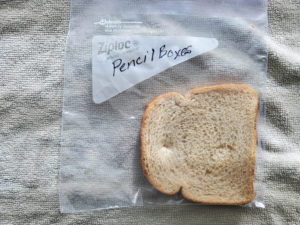
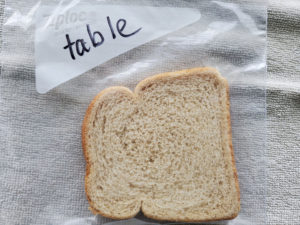
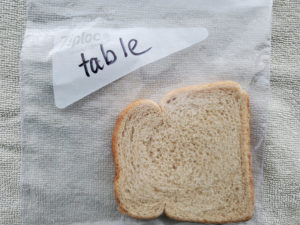
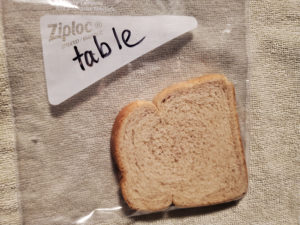
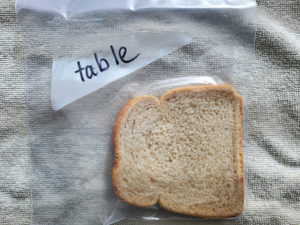
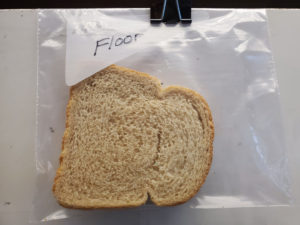
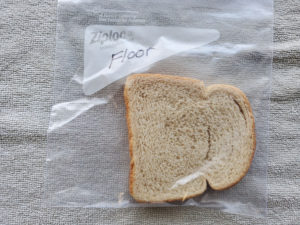
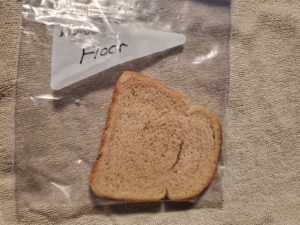
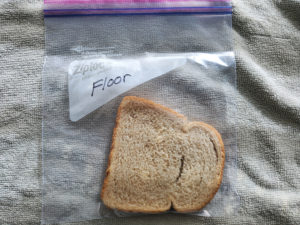
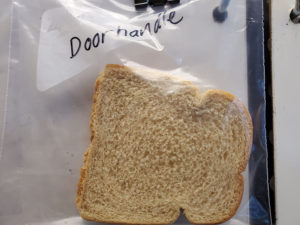
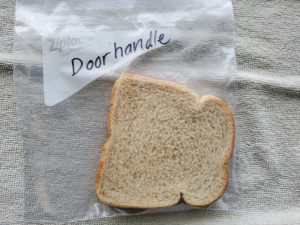
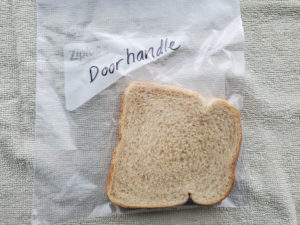
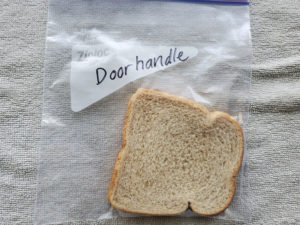
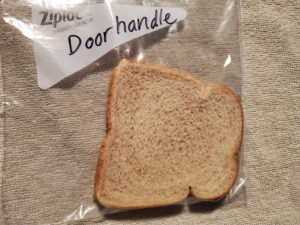
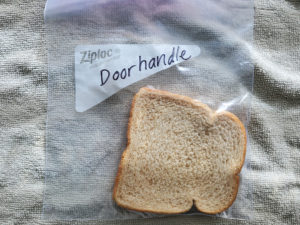
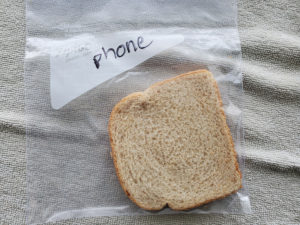
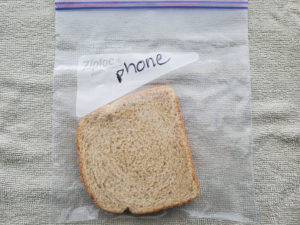
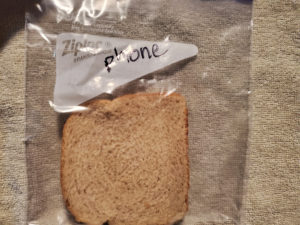
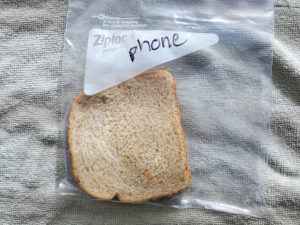
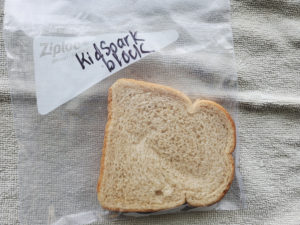
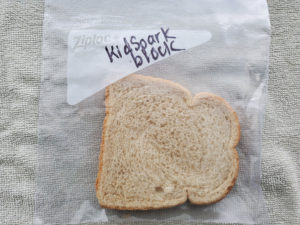
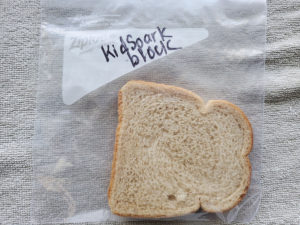
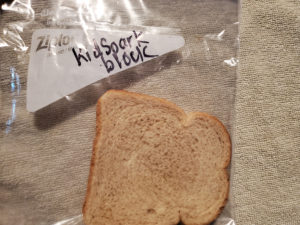
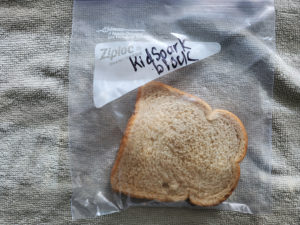
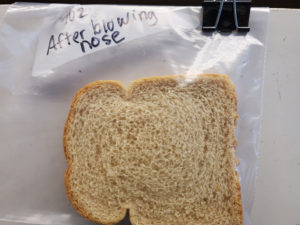
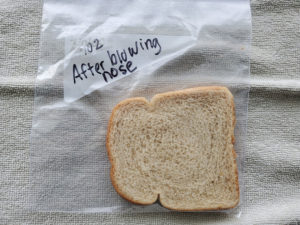
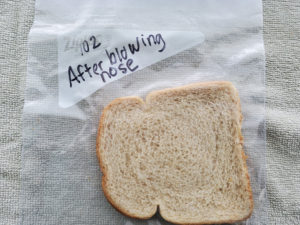
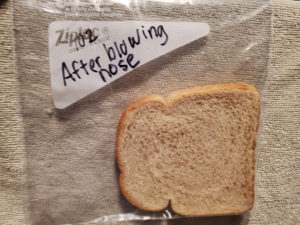
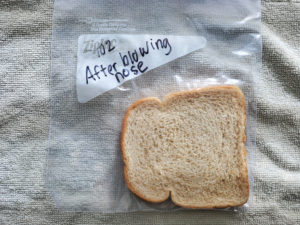
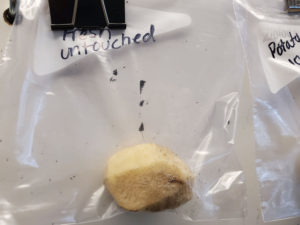
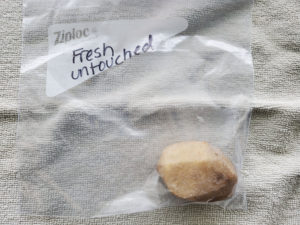
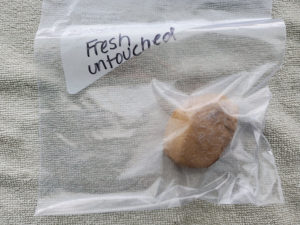
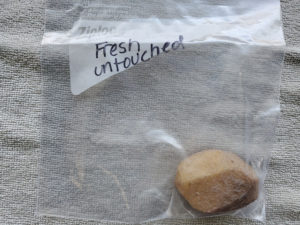
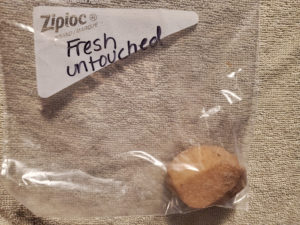
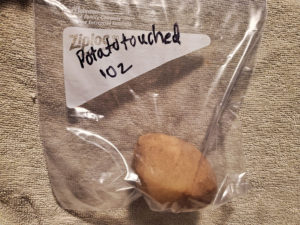
Next we used bread to represent skin and touched the bread. We will compare these pieces of bread with the control – a piece that was untouched (I used gloves).
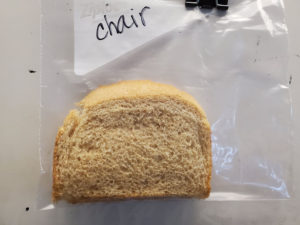
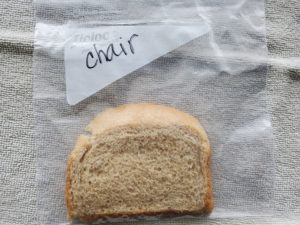
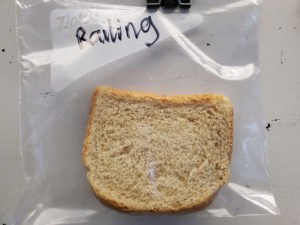
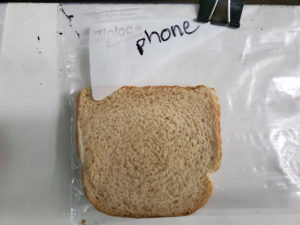
We also came up with other things in school that people frequently touch, and then rubbed the “skin” (bread) on those items as well. I will post the daily update here. There were a few samples that the Day 1 photos did not come out, so those are starting with Day 2 in the galleries below.
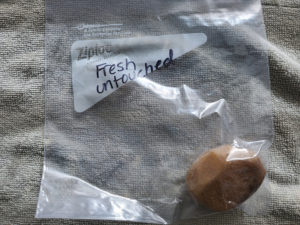
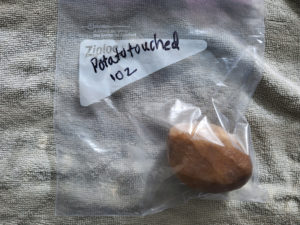
We also did a peeled potato as well.
Note: We did spend time washing our hands to make sure everyone was safe during this experiment.
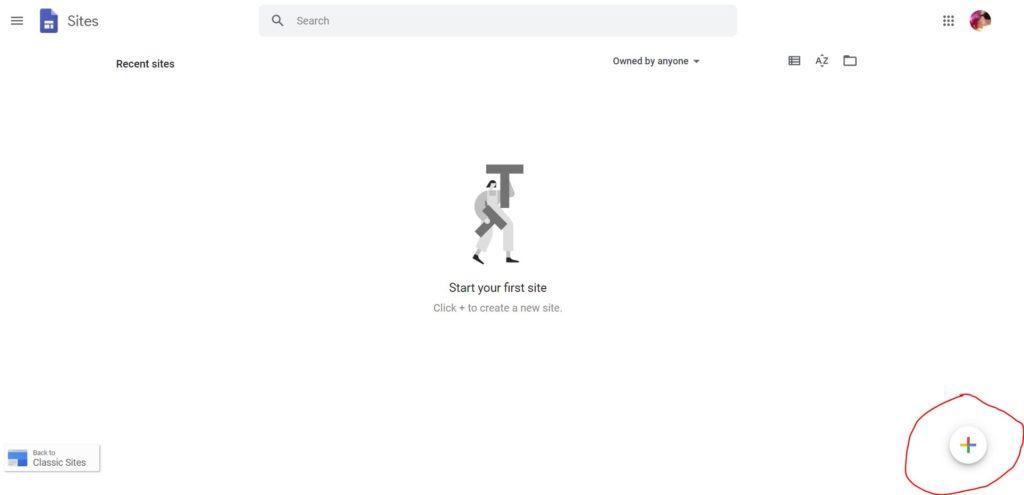
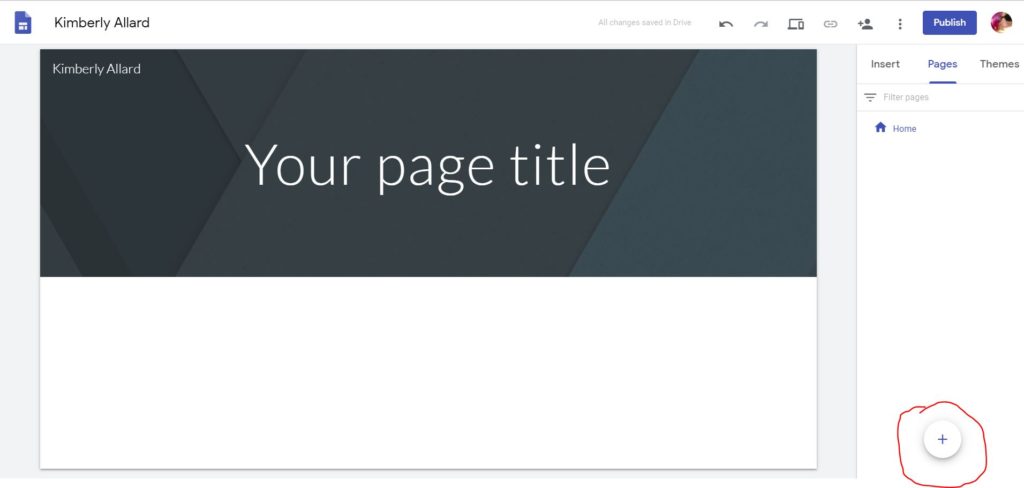
Click her to go to Google Sites. Then click the + sign to get started.
STEP 1
Click on the plus sign to get started.
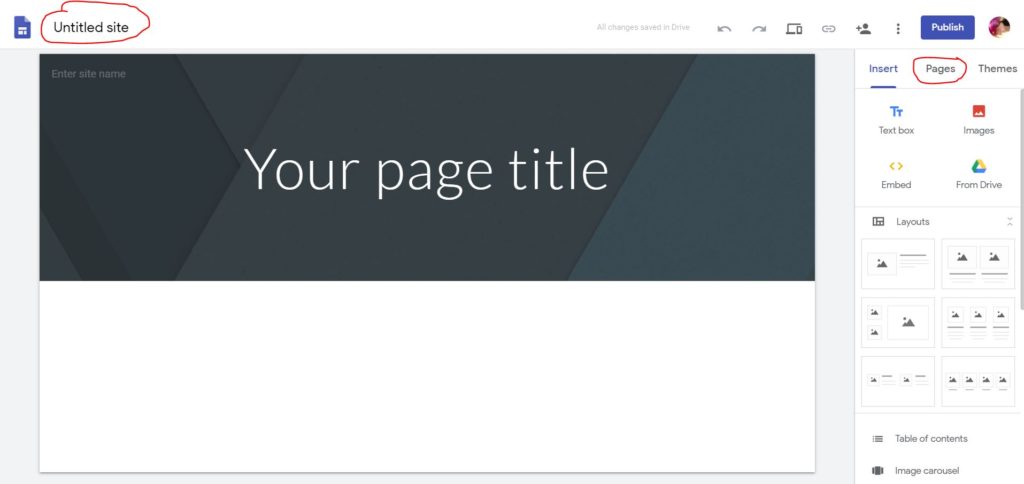
STEP 2
Click on “untitled site” and change it to your first name and last name. This is your “home” page.
STEP 3
Click first on Click on the plus sign to create a new page.
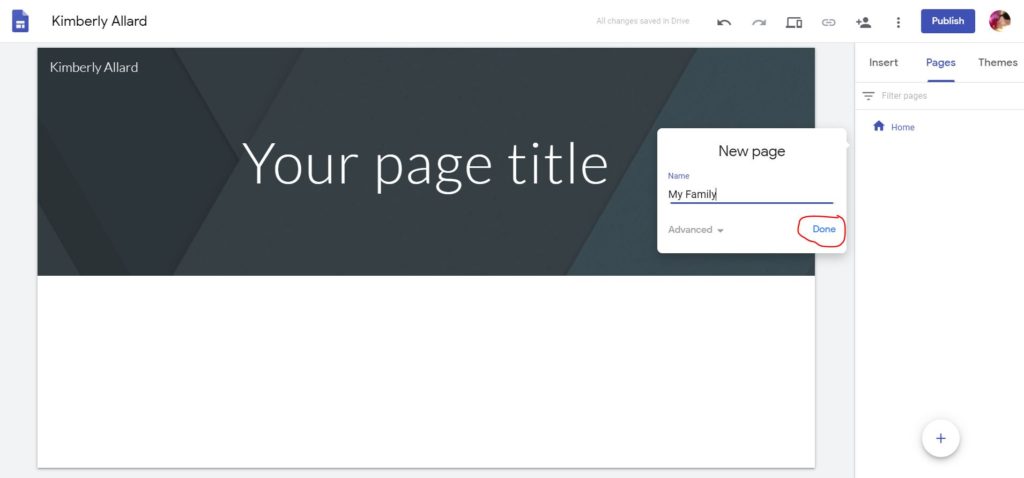
STEP 4
After clicking the plus sign, enter a title for your page. We are going to create a page called “My Family”. Then click done.
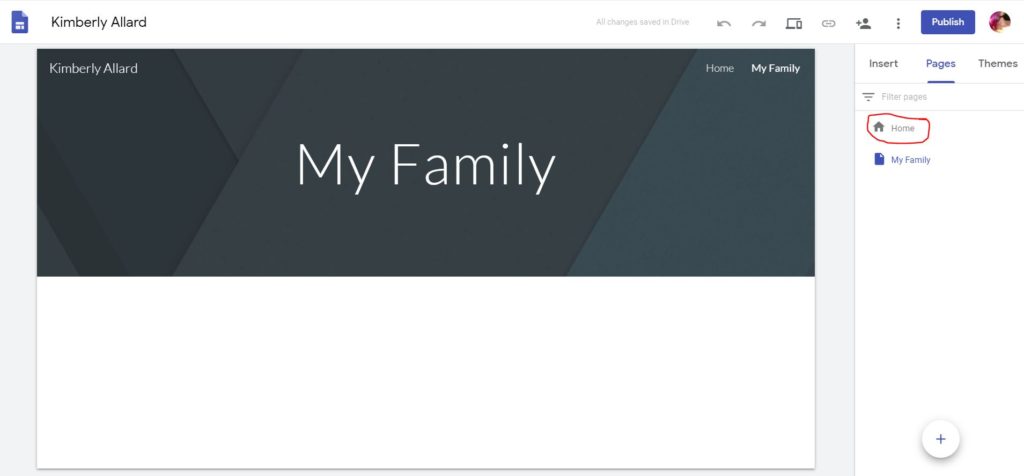
STEP 5
Click on the title and name it “My Family.”
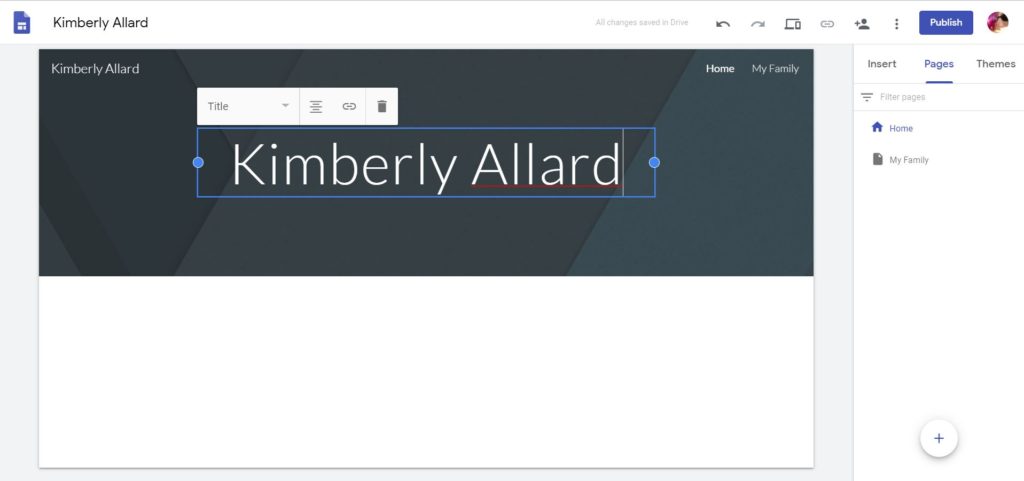
STEP 6
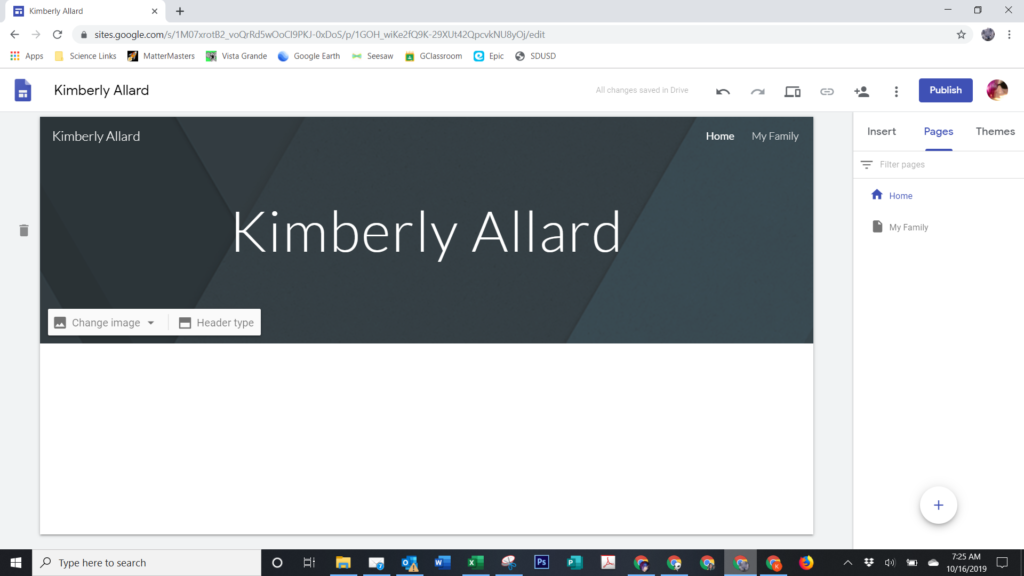
Click on the title and type in your first and last name.
STEP 7
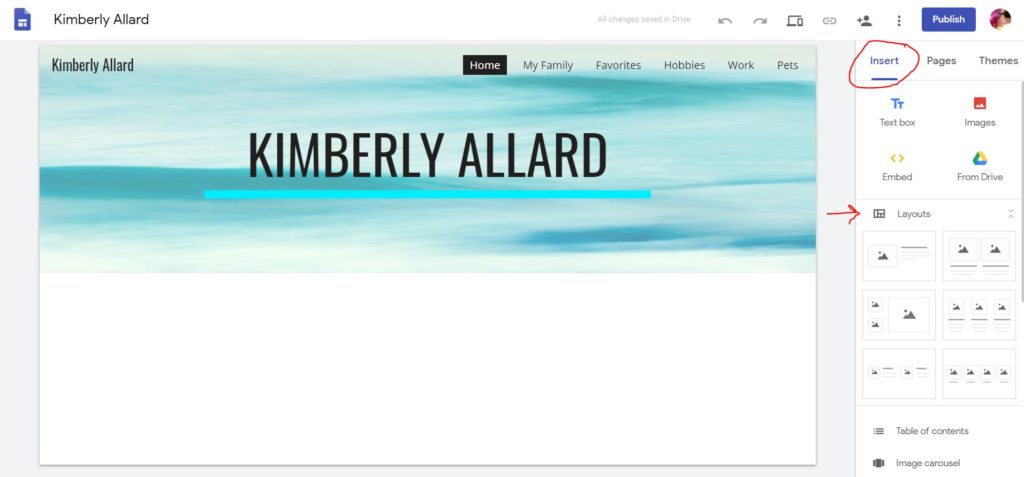
Hover over the title background and a menu will pop up that says “change image” and “header type”. Click on “Change image.”
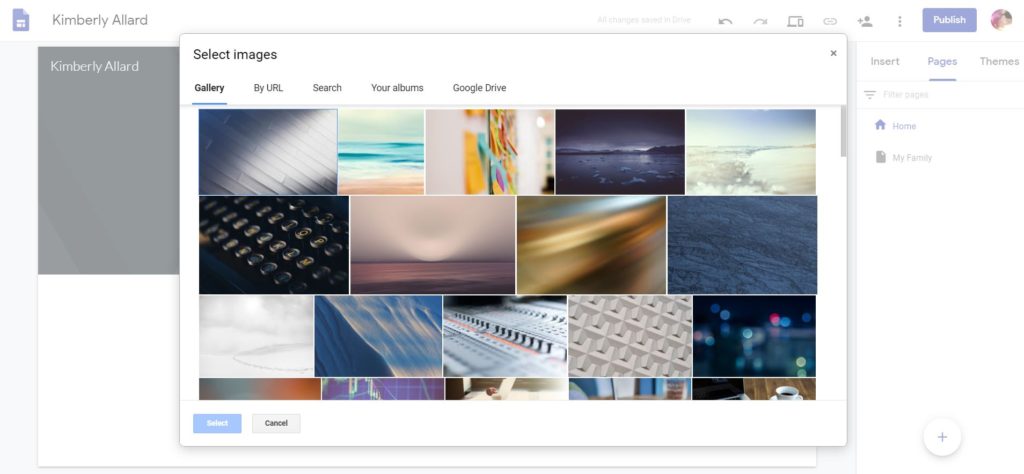
STEP 8
Click on “select image” – don’t worry about uploading at the moment. We can play with that later. A new screen will pop up that looks like the one below. The first option is “gallery” – stick with that for now. Pick an image in the gallery.
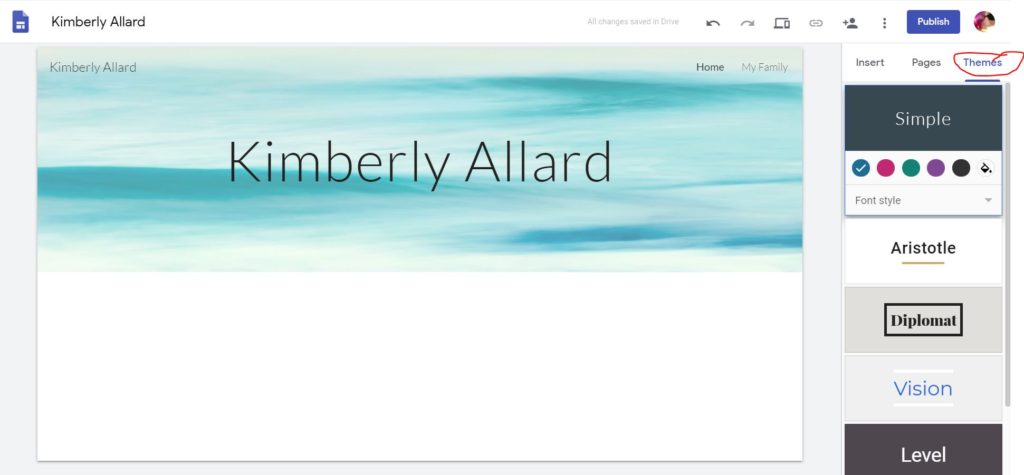
STEP 9
Click on “themes” and click on a theme until you find one that you like.
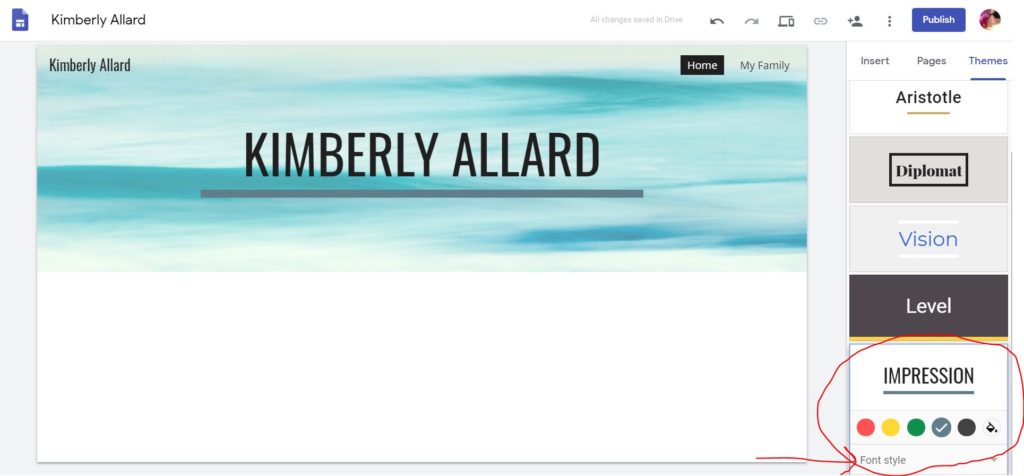
STEP 10
After you pick your theme, you can also choose a color to go with your theme, and also choose a font. Unfortunately there aren’t as many font choices in Google Sites as there are in Google Slides.
STEP 11
Create 4 more pages for your site:
Favorites
Hobbies
School Work
your choice page
After you create these new pages, you can start filling in information on each page. Start with your “Home” page. The home page is going to be about you. Introduce yourself. Tell how old you are, where you live, just a little bit about yourself. You will use the other pages to give more details.
For the “your choice page” – pick another topic you would like to include on your site.
STEP 12
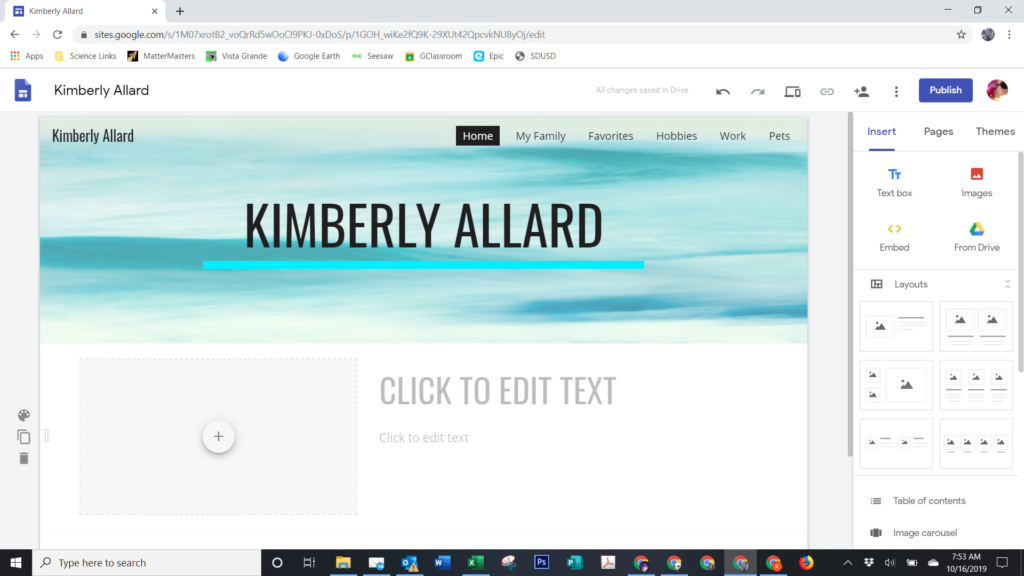
Begin putting in content. Star with your home page, and then go to the other pages and add stuff. Click on “insert” and then choose a layout. You can click on the layout or drag and drop.
STEP 13
The rest is pretty self-explanatory. There is a palette to choose some colors, etc., Double page means you can duplicate. Trash can means to get rid of that section.


You must be logged in to post a comment.